Uber allows for some actions to be processed by passengers during a ride. This enables passengers the ability to control certain aspects of their journey after making a request.
A ride starts from the moment the driver accepts a request; it does not mean the passenger is paying yet, the ride fare only begins from the moment the driver arrives at the pick-up point.
Here are some features and issues that can be selected during the ride period.
All About Profiles
Uber customers can open any number of profiles under their name. Profiles are different sub-accounts under the primary account that allows a customer to manage different Uber rides for various purposes. For instance, a customer might have an expense account for personal travel, another one for business reasons and the third one for family functions. The profile feature will allow the customer to create multiple profiles, each with a different title and payment method, enabling the customer full budget control of all their Uber trips.
How to set up a profile
- Go to "settings" and choose "profiles."
- Tap the profile to modify
- Choose "preferences" and tap "default payment."
- Press "add payment" to add a new payment method
- Press "Save"
You have now set up your main profile; you can always add more profiles after this.
When requesting a trip, you can choose a specific profile. Tap the round profile icon found at the top right side of the screen.
If you already set a destination and didn't choose a profile, you can add or change the profile. Choose the "payment option bar" above the "request" option and change the profile.
You can also change the profile during a ride, just enter the app, swipe up the screen to change the profile. Change the profile name you want to use for the trip.
Uber Credits Understood
Uber credits are a useful resource for paying cancellation fees and trip fares. You can view your current credit status in the "payment" screen of the app.
Credits can be applied before, and during a ride, all you need to do is toggle the credit option to on or off. This is done after you have set the destination at the ride request stage and before you decide which car category you want to ride with.
- Press the white bar above the black "request" button
- Tap "change payment method."
- Slide the slider on the bar to the next credit amount on the screen
- Move the credit toggle to the left "off" position or the right to the "on" position.
Once the trip has started, you cannot change the credit option on or off, if you want to change between payment or credit options, you have to press the "help" button on the screen and request that Uber does this for you.
If your credit amount is not as much as your fare, then the remaining amount will be deducted from the payment option associated with the profile you used for the trip.
Choosing a Payment Method
A passenger can change their payment method before and during a trip, in fact, any time they want. If, however you want to pay in cash, you must first check to see if your city allows cash payments. However, you will not be able to change from credit to cash during a ride.
To change a payment method from one credit card to another during a ride:
- Choose payment method in the app
- Tap in the last four digits of the card number; this will redirect the screen to the payments section.
- Select a new payment method that is already in the system or adds a new payment method.
Splitting Fares
When passengers travel with more than one friend or co-travelers, Ubers app offers a "split fare" feature that enables passengers to split the fare between them.
- Place a ride request
- Choose the "split fare" option at the bottom of the screen
- Input the names or mobile numbers of the other passengers
The new app works differently:
- Place a ride request
- Swipe the screen from the bottom upwards
- Choose your selected payment
- Select "split fare."
- Input the names or mobile numbers of the other passengers
All the other passengers will receive notification of the ride and the split fare. The fare is split equally between all the other passengers. Every passenger that participates in a split fare method will pay an extra 25 cent fee, and the receipt that you receive will show the total split fee for all the other passengers.
If one of the passengers refuses to accept a split fare fee or if their payment method is declined or not valid, the inviting passenger will pay the difference of both.
If the inviting passenger gas a promotion or credit, it will only apply to their payment part of the fee.
If the trip finished and you did not remember to make a split fee, you cannot split it retroactively. Apple pay does not work with split fares.
Toll and Surcharges
All Uber drivers mount an RFID in their car. (RFID is radio-frequency identification device, used to signal a system receiver that the car is part of the system) This is to ensure a smooth and seamless ride even when going on long distances that include passing toll booths, bridges, tunnels, highways and sometimes around airports.
Drivers are not expected to pay any tolls or fees, so if the ride incurs any such payments, they will be reflected in the passenger's bill, as well as return toll fees that the driver will have to pay in case of a return trip.
Sometimes the toll prices in your receipt will not match the amount paid by the driver; this is due to commercial rates being enforced in some cities, so the toll charge is sometimes an estimate based on a fair estimation amount to be taken.
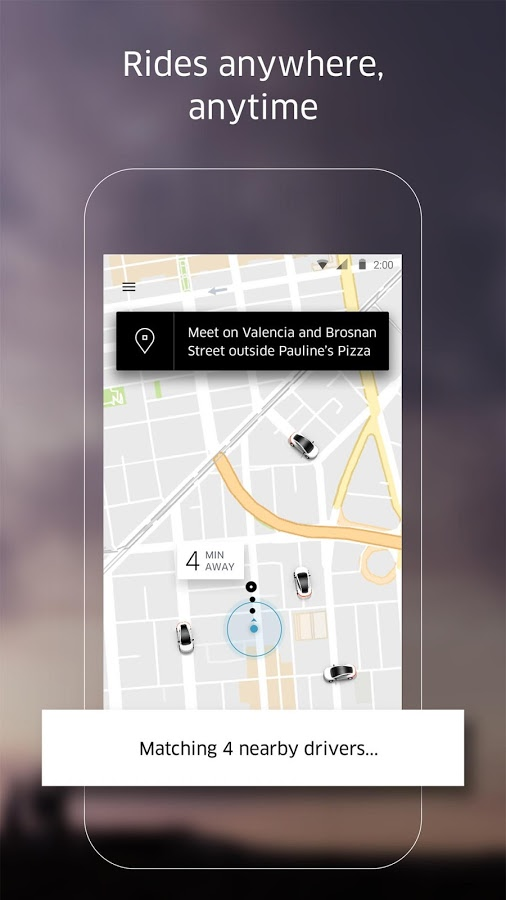
Pick Up Points
This is one of the critical issues facing both passengers and drivers. Pick up points can be trivial or critical. For instance, a pick up from a suburban home will be trivial since there are plenty of pick up locations to choose from including the driveway of a private residence. City pickups are more complicated, some can be in thoroughly congested areas with no parking zones, and others could have a pick-up zone. There are also lots of no-unloading zones and in areas that are patrolled by cameras, police and traffic wardens. In other instances, it can be during peak driving times when there is a lot of traffic and no place to stand at all.
Passengers are requested to consider all the conditions the driver can find and make an intelligent decision as to where a pick up should be. Another major issue is timing. If a passenger picks a complicated location, they should be ready for the driver, waiting at the place and not let the driver seek out or wait for the rider.
Picking a location is especially critical when using Uber Pool, the driver is already tense from having to drive around collecting fares on the way, the last thing the driver or other passengers want is to wait, and even less, wait inappropriately.
The Uber app suggests pick up points they are highlighted in green and take into account many factors. You can move the pin to another location, but if it's at a bus stop, taxi stop, hospital emergency ward entrance or double-parked area don't expect the driver to stop there. If you decide to move the pin to a problematic area, the app will notify you and prompt you to pick a better area.
If you want to accept an area, press "ok" if not, choose "no thanks."
Identifying the Driver
After you have requested a ride, you will receive the matching based on a driver's acceptance of your request; This pairing will give you the information about the driver, the car, and the pickup location. You want to be sure of the driver's identification so you can speed up the pickup, especially if it's in rush hour conditions or adverse weather conditions, then tap on the driver information bar. It will show you the drivers photo, name and vehicle information.
When a car drives up to you, check the license plate or the photo of the driver to be sure.